I've always had a fascination with library ladders. They have always just seemed awesome! I guess it's an easy leap to make as I love books and libraries and bookshelves. When my husband and I got married we realized that between the two of us we had thousands of books and both of us were stubborn about keeping our several hundred favorites of differing shapes, sizes and degrees of shabbiness. Yikes! What to do with all of those books figured into our house designs when it came time to build our own home. Our living room plans changed into a library/living room and every free wall changed into a bookshelf-most with closing doors to hide the mix-match of textbooks of every subject, worn classics, coffee table books, favorite novels, children's books, family photo albums and scrapbooks. One of the problems with that was that we had planned the entry into the kids' loft along a wall now designated as a library bookshelf. I was tasked with figuring out a way to make some sort of staircase entry into the loft while keeping as much bookshelf as possible. My solution was something I've always wanted anyway: a library ladder!

The bookshelf itself needed to be functional but structurally strong enough to hold the ladder weight and the weight of the kids and my husband and myself. I am no great craftsman so for the bookshelf construction I turned to a local family who specializes in this sort of thing-"Generations Cabinetry." (They are not on the web! If you are in the Southwest Wyoming area call Bruce at 307-679-0122) They put up with me and my crazy ideas and built us an amazing set of shelves & cabinets that are also our main entry into the kids' loft.
(Side note: Even though our bookshelves were custom made, I think these simple ideas for building and securing a library ladder could work for most bookshelves!)
I told them I would deal with the hardware and ladder myself and so this blog is about how I did just that with recycled lumber and some inexpensive hardware. (My husband and I made the pulls on the cabinet doors on our bookshelves out of discarded railroad spikes. To see how, go to my post on railroad spike cabinet pulls )

1st I realized that my ideal ladder on wheels idea needed to be re-examined- I needed a ladder that was less moveable so nobody would get pushed for a wild ride while trying to climb up! (I know my kids.) I did want to be able to re-position the ladder though, just not while someone was climbing on it. (Out go the industrial strength wheels and rollers!) Hmmm. I decided that I needed a metal pipe or runner of some kind to hold my ladder just far enough away from the wooden bookshelf to not scuff it while allowing some limited movement of the ladder from one side to the other. I chose some simple screw-in bookshelf supports and a decorative curtain rod that adjusted to the width of my bookshelf. My husband and I wanted to make sure that the curtain rod was sufficiently strong so we pulled it open, measured the inside diameter and purchased a smaller metal rod to go inside and add more core strength. (A regular metal pipe or conduit would've worked fine with little or no re-enforcing required, but we wanted some fancy end caps and found that curtain rods had more selection on that score.)


2nd we attached the shelf supports to the bookshelf and then measured on the curtain rod where the holes in the shelf supports lined up. We drilled through the curtain rod and core and secured the curtain rod to the shelf supports with a few bolts and nuts.
3rd With the rod in place and secured to the bookshelf it was time to work on the ladder itself. I took some measurements and drew up my plans based on what I thought would be ideal for this particular situation (and the materials that would be inexpensive or that I already had on hand). I needed some hooks now, instead of rollers, that would hold the ladder in place securely while someone was on the ladder but that would allow me to move and adjust the ladder when no one was on it. They needed to be strong enough and long enough to keep the ladder on the bar safely. I made my sketch and got to work!
I knew I had some lumber odds and ends so I planned accordingly. I also know that my childrens' little legs might have trouble with ladder rungs placed too far apart so I planned a ladder with rungs slightly closer and easier to navigate than a typical hardware store ladder.
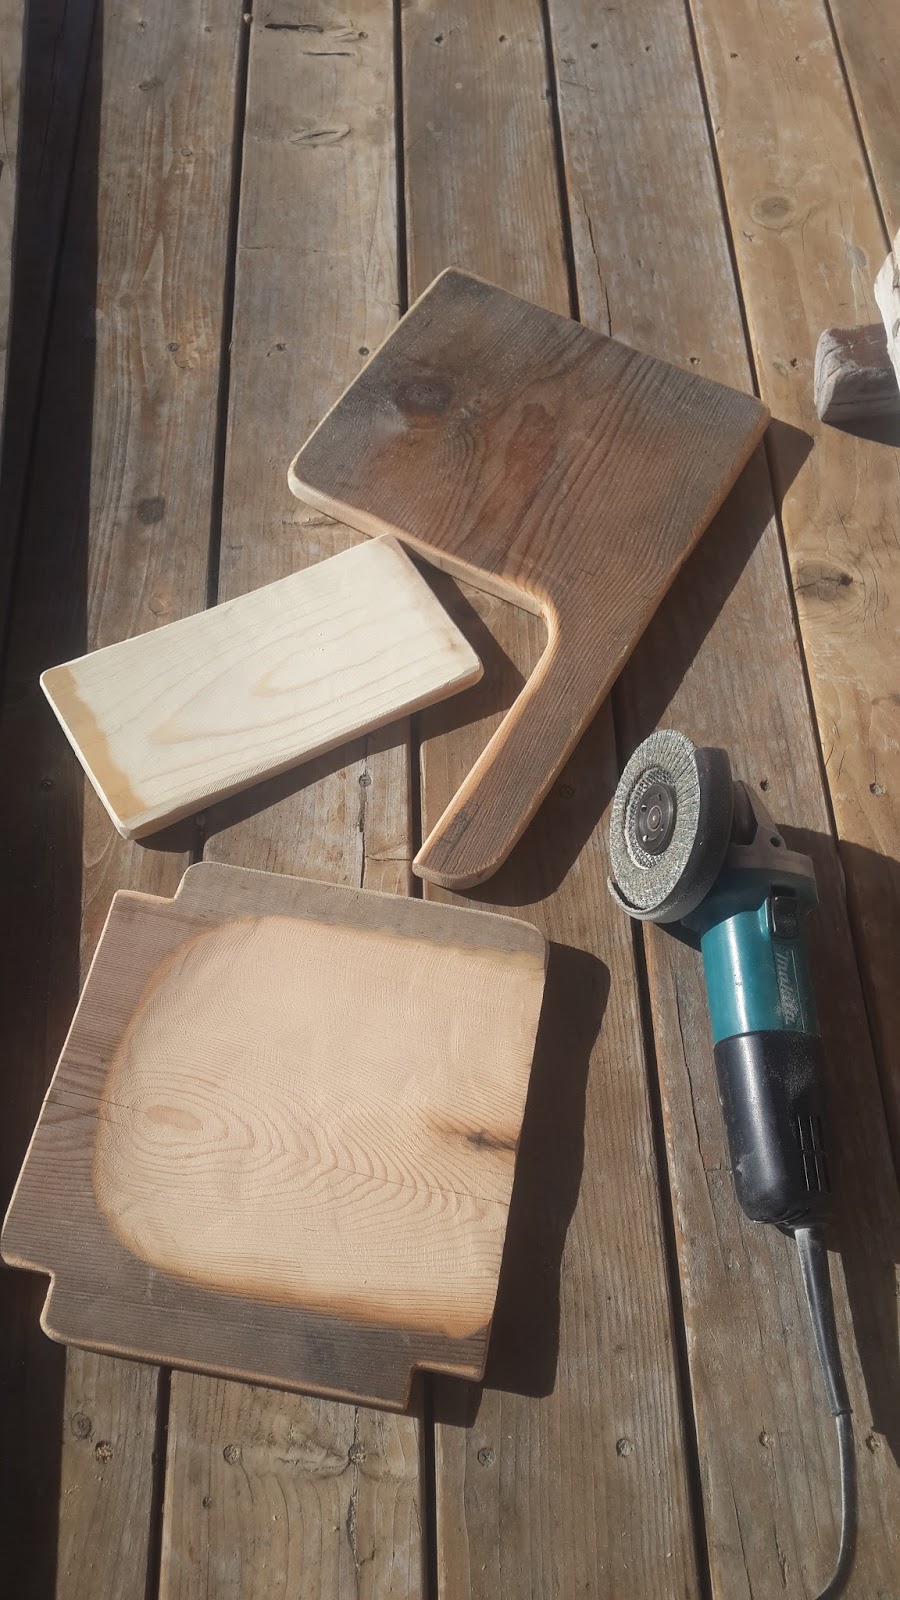
4th I hunted around until I found some previously used 2x4 boards. I found several that had been used as bracing and other temporary fixes during our house construction. I love re-using and re-purposing lumber and when all it costs me is the time it takes to pull a nail or two, I am loving it.
5th I placed my long side pieces (called stringers) against the bookshelf at the angle/steepness I desired the ladder to be and used my tape measure and small level to get the steps at the correct angles and distances apart that I had chosen.
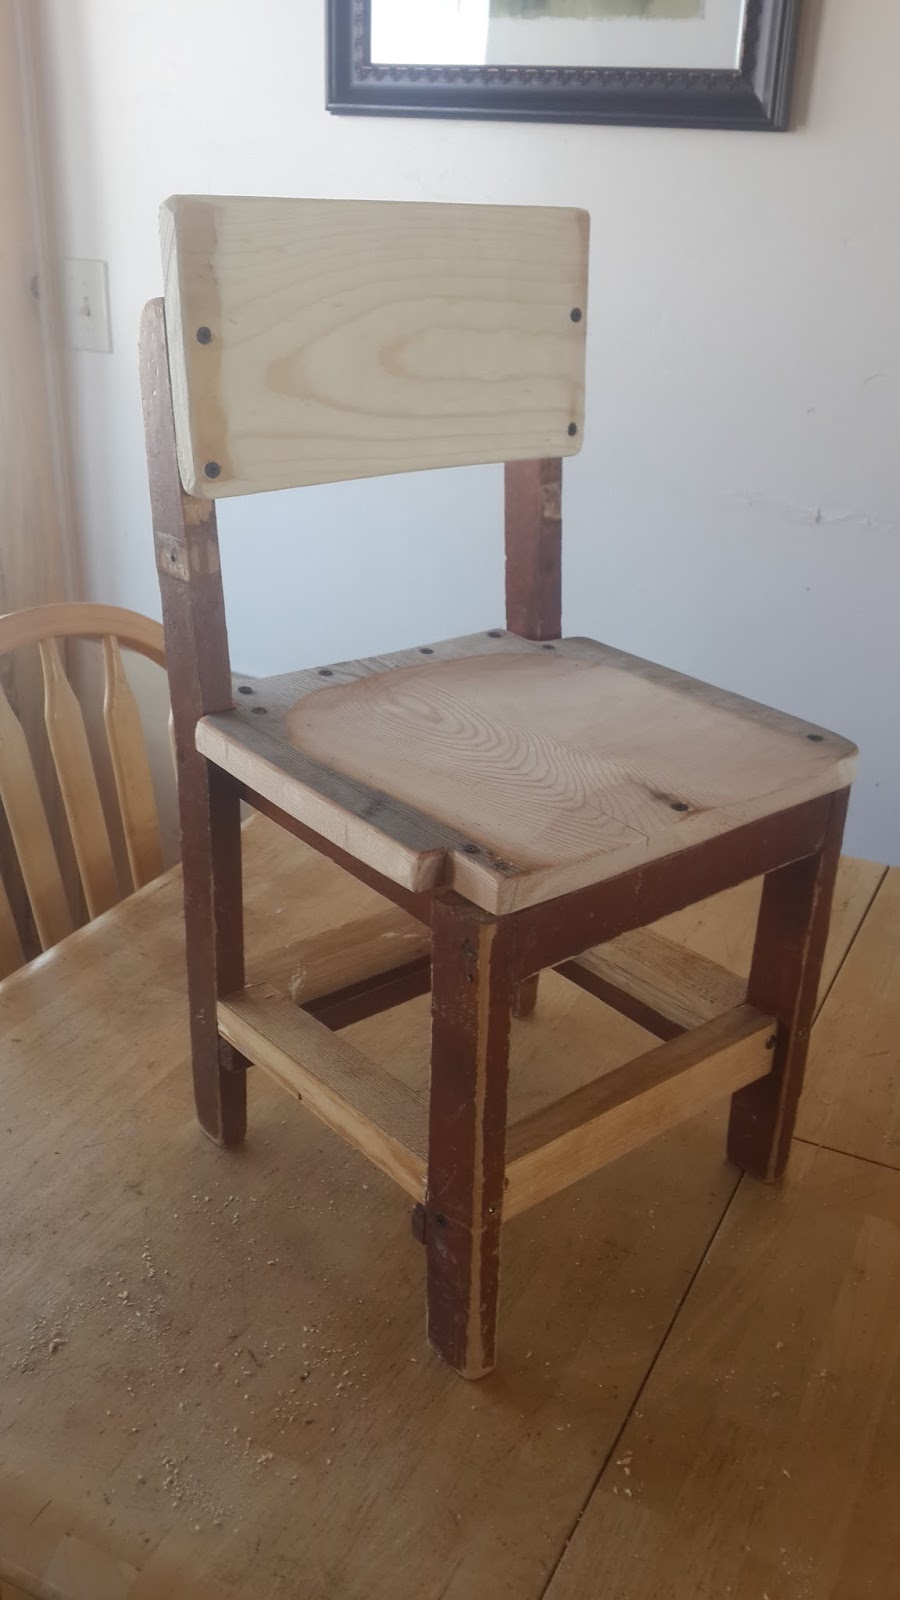
6th Once I had the angles drawn with pencil, I used my circular saw on its shallowest setting(1/4") to cut into my stringers where the steps/rungs would go. After running the saw through several times, I finished cleaning out the space with a hand chisel and hammer. I used my cross cut saw to cut my stairs/rungs all the same length and began piecing together my ladder. I decided I would pre-drill all the holes I would require to attach my handrail and screw the steps/rungs into place before I tried to finish/stain or lacquer my ladder.

7th I decided to call up my cabinetry folks again and ask them for the color of stain they had used on my bookshelf so I could match it. I was going to try to router the edges of my steps as well as the stringers, stain and lacquer them up and then screw everything together. These kind folks, offered to router, stain and lacquer everything for me so that my ladder would "fit" the design and stain of the bookshelf exactly. They did a great job at a very affordable price and I was excited by the result-I've got to admit it was much better than my job would've been. (They even went so far as to give me an extra wooden rung or two just in case, and put it all together for me, minus the handrail that I was still working on.) Thanks Trevor and Bruce!
8th While my ladder was getting routered, stained and lacquered up, I turned my attention to my handrails, hooks and braces. I felt that a metal pipe for a handrail would be easier for little hands to hang onto than a 2x4 or 2x2. So I walked into my local hardware store and found 2 steel pipes about 10ft long and 3/4" in diameter. The ends of the pipe were sharp so I grabbed 4 rubber chair leg covers with the appropriate diameter so that they would fit snugly over the rough metal ends.

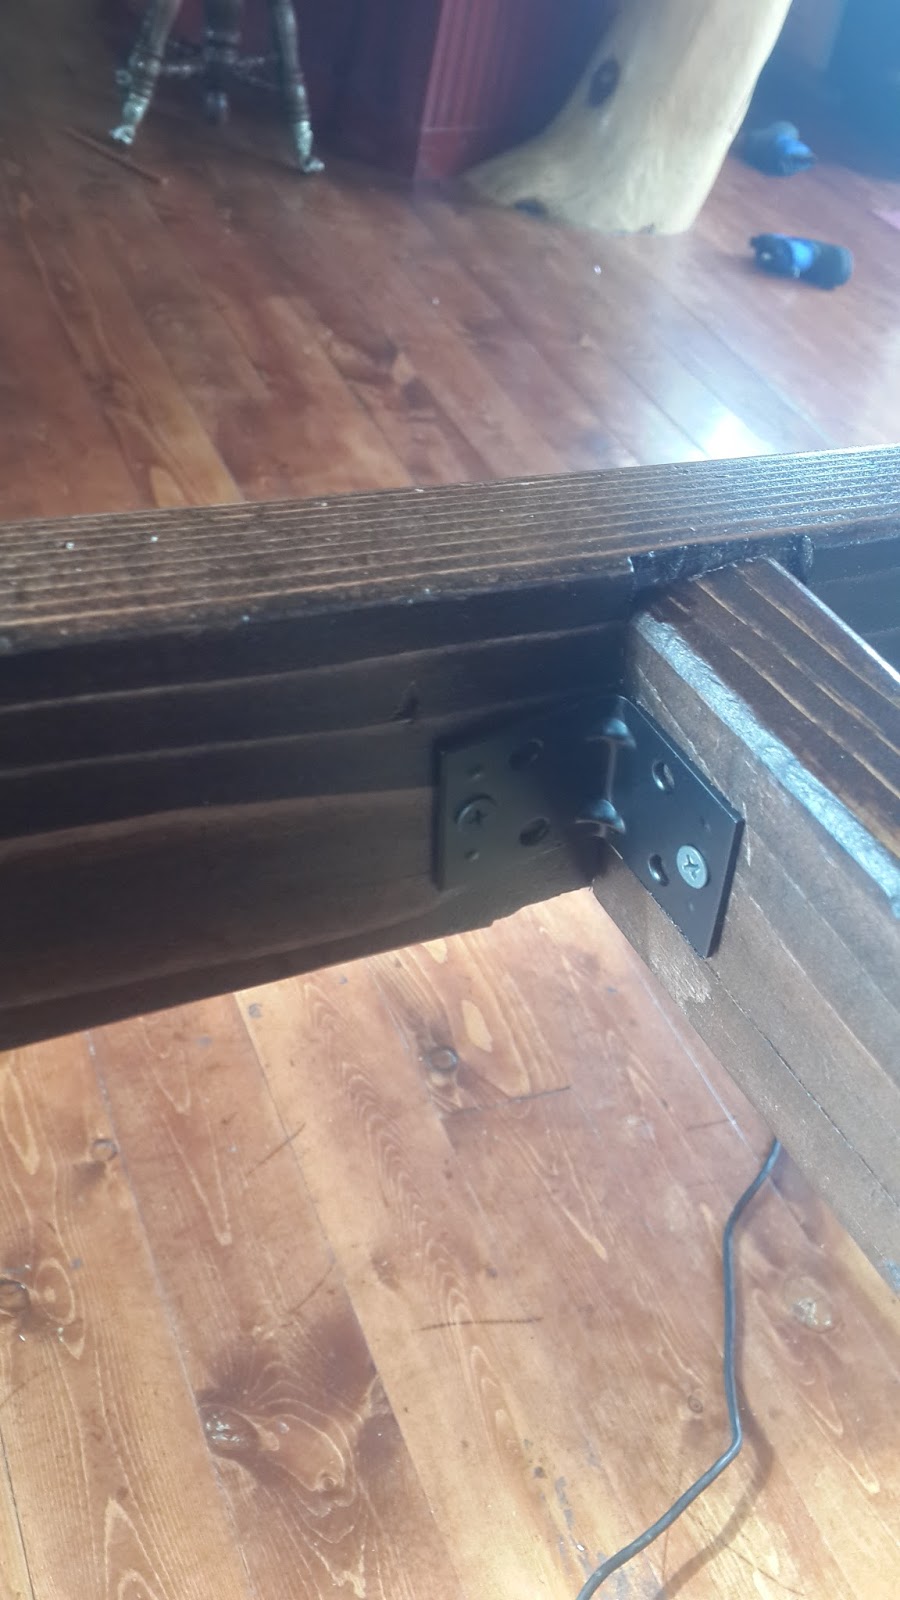
That done, I found four, 7" long 1/4" diameter bolts with washers and locking nuts and four, 1 1/2" long spacers with 1/2" diameter. I wanted the smooth spacers to hold the handrail just far enough away from the ladder to make it comfortable for little hands (and my own as well) to grab the railing. Next I hunted down some corner braces to screw under each stair rung to re-enforce them so that they could easily handle the weight of someone as large as myself or my husband (or both of us together hauling furniture items up the ladder).
That done I started looking for metal hooks. I couldn't find a type of hook that I wanted for my ladder (to hang onto the bar on my bookshelf) so I picked up a plain metal strap about 30" long and 1 1/2" wide and about 1/8" thick to make some custom hooks myself. I took them all home and spray painted everything black (except the strap and long pipes) to match the hardware I had already for my bookshelf.
9th Next I picked up my ladder all stained and pretty and measured on my metal pipes where I wanted my handrails to fit.
I had already pre-drilled holes in my ladder so I just marked on each pipe where the holes needed to be drilled and got to drilling. I had some extra pipe lengths to cut off- a task easily accomplished with my hand grinder (my favorite power tool!) and the metal cutting disc attachment- and so while I was at it I cut my metal strap in half as well. That done I set my straps aside and painted the newly drilled and cut to length handrails a nice black to match my other metal pieces and pulls.
10th Once my metal pipes had dried, I attached my handrails! I couldn't wait to see what the ladder would look like propped up against the bookshelf at this point so I hauled it upstairs and showed it off to my kids, nieces, nephews and my husband, who all tried it out. It was at that moment that my husband requested that the ladder be about 4-6" narrower and one more step added at the top of the ladder for the convenience of the little ones. So... back to work!
After I un-screwed everything, measured for the new top step, cut a space for it with my circular saw , chiseled out the rest, measured and cut each rung 5" shorter and added a new rung, I put it all back together, hauled it back upstairs and got the thumbs up to finish!)
11th I added my nicely painted corner braces under each step for additional support. (I was glad I had waited 'til now to screw them on!)
Just a quick side note here: to make the metal screw heads match my new black paint job, I used a black paint pen, but I have used a black marker before and had similar results.
12th I took my metal straps out to the vice and secured one end in the vice. I bent the straps by hand over a scrap piece of pipe the exact same diameter as my curtain rod. That done, I drilled several holes in the areas where I wanted to secure the straps/hooks to my ladder.
13th Next it was time to paint! After the straps/hooks had dried, I used my drill and secured the hooks to the ladder. At this point I decided I wanted to put a soft surface between the hooks and the rod so I added a couple of peel and stick felt bumper strips to the inside of my hooks.
14th Time to throw it back up and survey the scene! We love the ladder and the hardware! Here's hoping that this was helpful and that your projects are fun and rewarding too!